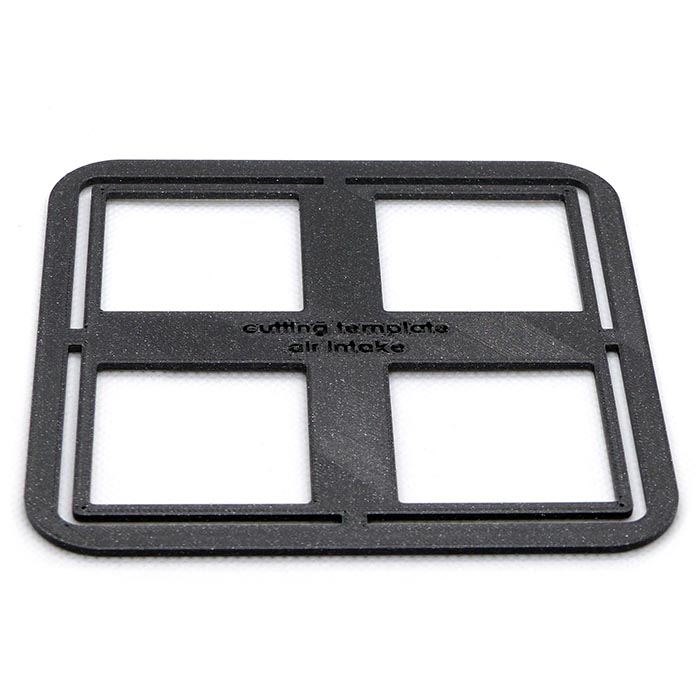
Download the cutting template
Draw and cut the air intakes properly on your panel
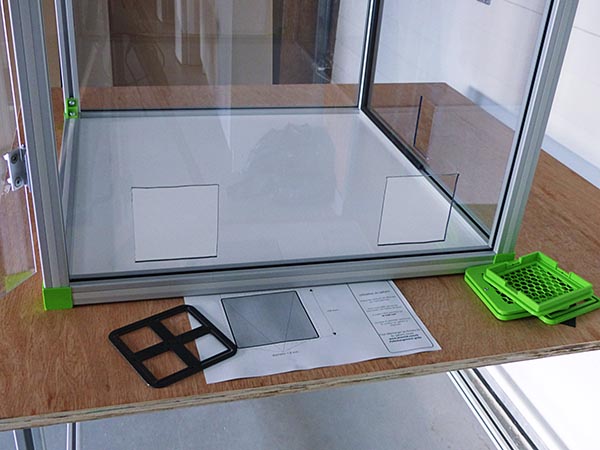
Recommended location
01. Filter position
Put your filtering case on top panel or on a side panel top position of your enclosure.
02. Air intakes position
Put the air intakes as low as possible, on the side panel and at the same time as far as possible from the heat bed.
03. Opposite sides
Air intakes should be put on the opposite side of the filtering case to optimize the enclosure air volume treatment.
04. Space between grids
2 grids must be mounted on an enclosure with as much space as possible between them. Avoid direct airflow on the printer bed.
Cuts on panel
You must cut your panel before to mount the grid, we recommend to use a jigsaw.
01. Choose the location
Choose the proper place to make the cut
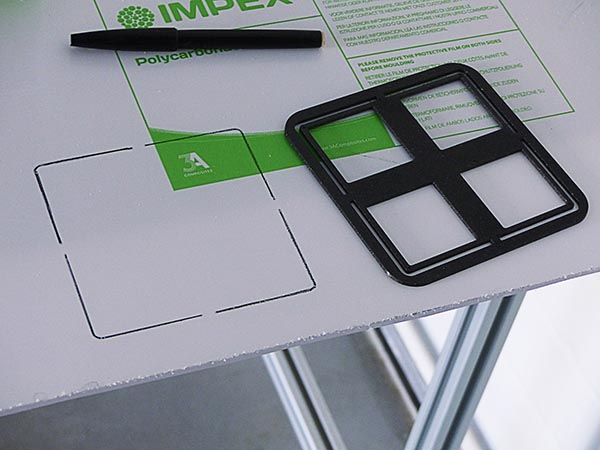
02. Draw the line
Draw the lines with the cutting template
03. Assemble grids
Let’s make the cuts. Then assemble the grid.
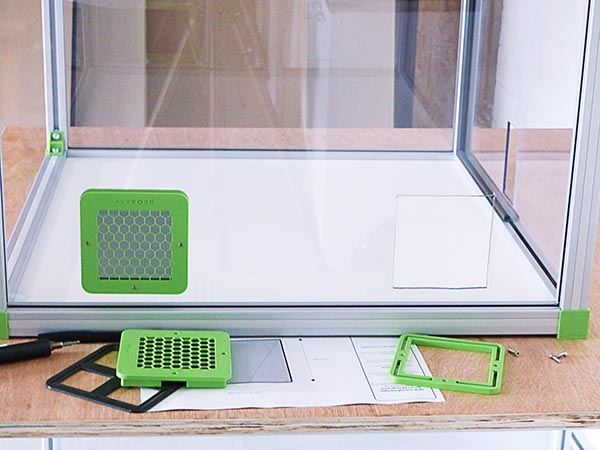
04. Tighten the screws
Tighten the screws, the grids must not move
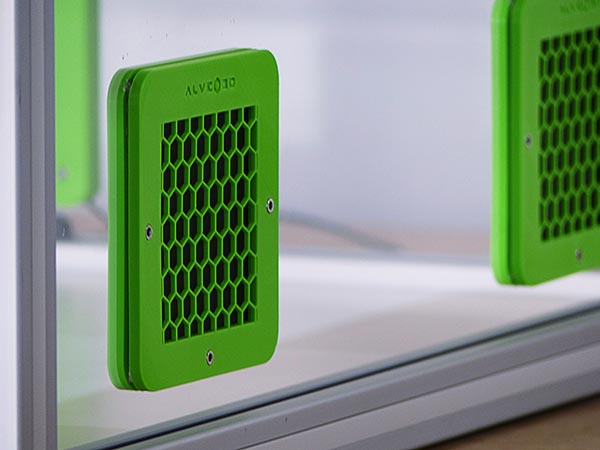
Grids assembling on panel
Grids are delivered half-assembled, you still need to put the holder and the grid case together with 3 screws(*provided) after you did the hole on the panel.
Assembling
Put the screw in the holes, verify the nuts are all in place.
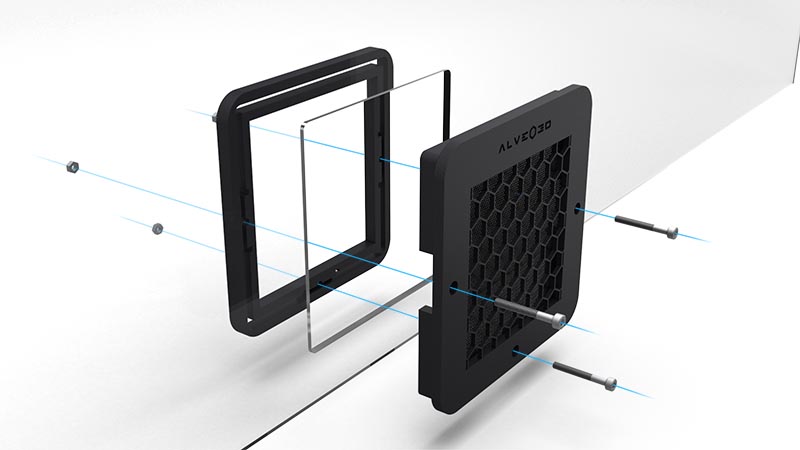
Tightening
Tighten all together on the panel, it should not move.
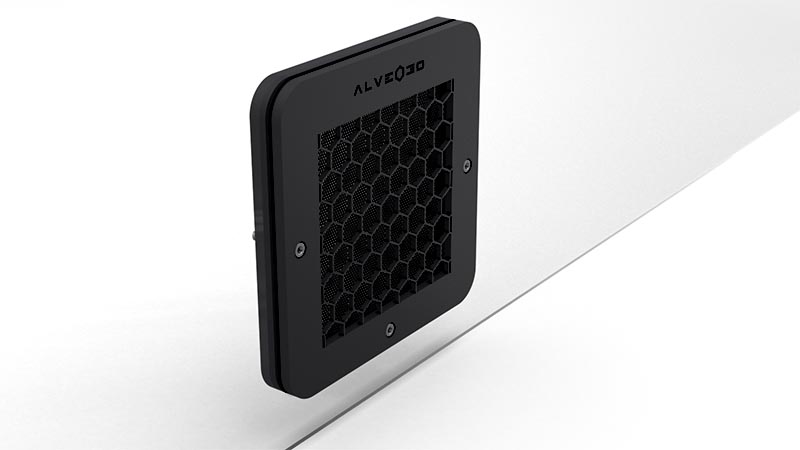
Adjustable for a panel from 3 to 8 mm
You can put the grid on a thicker panel with longer screws.
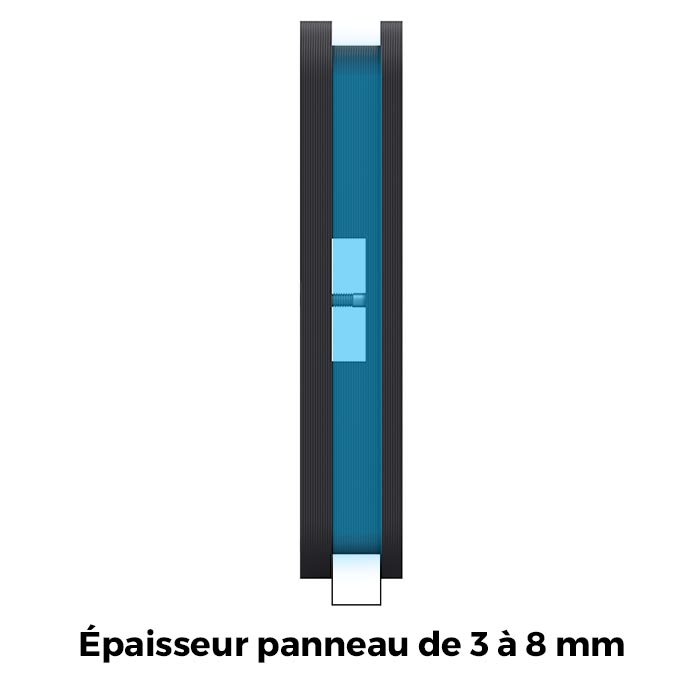
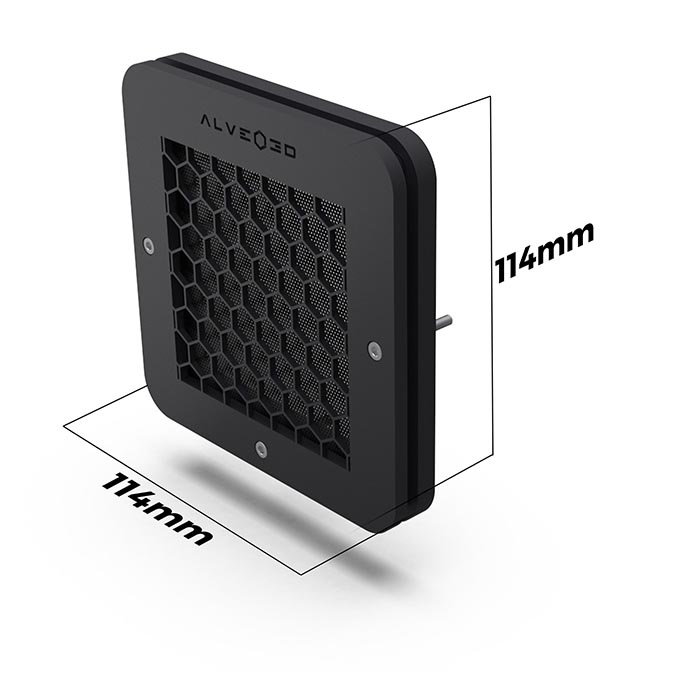
Air intakes grid dimension
Grid thickness will depend on the panel thickness.
Still some questions ?
Contact us to get more information or to share your feedback.
